Top modules
Ready-made sensor · LD2410B inside · Home Assistant

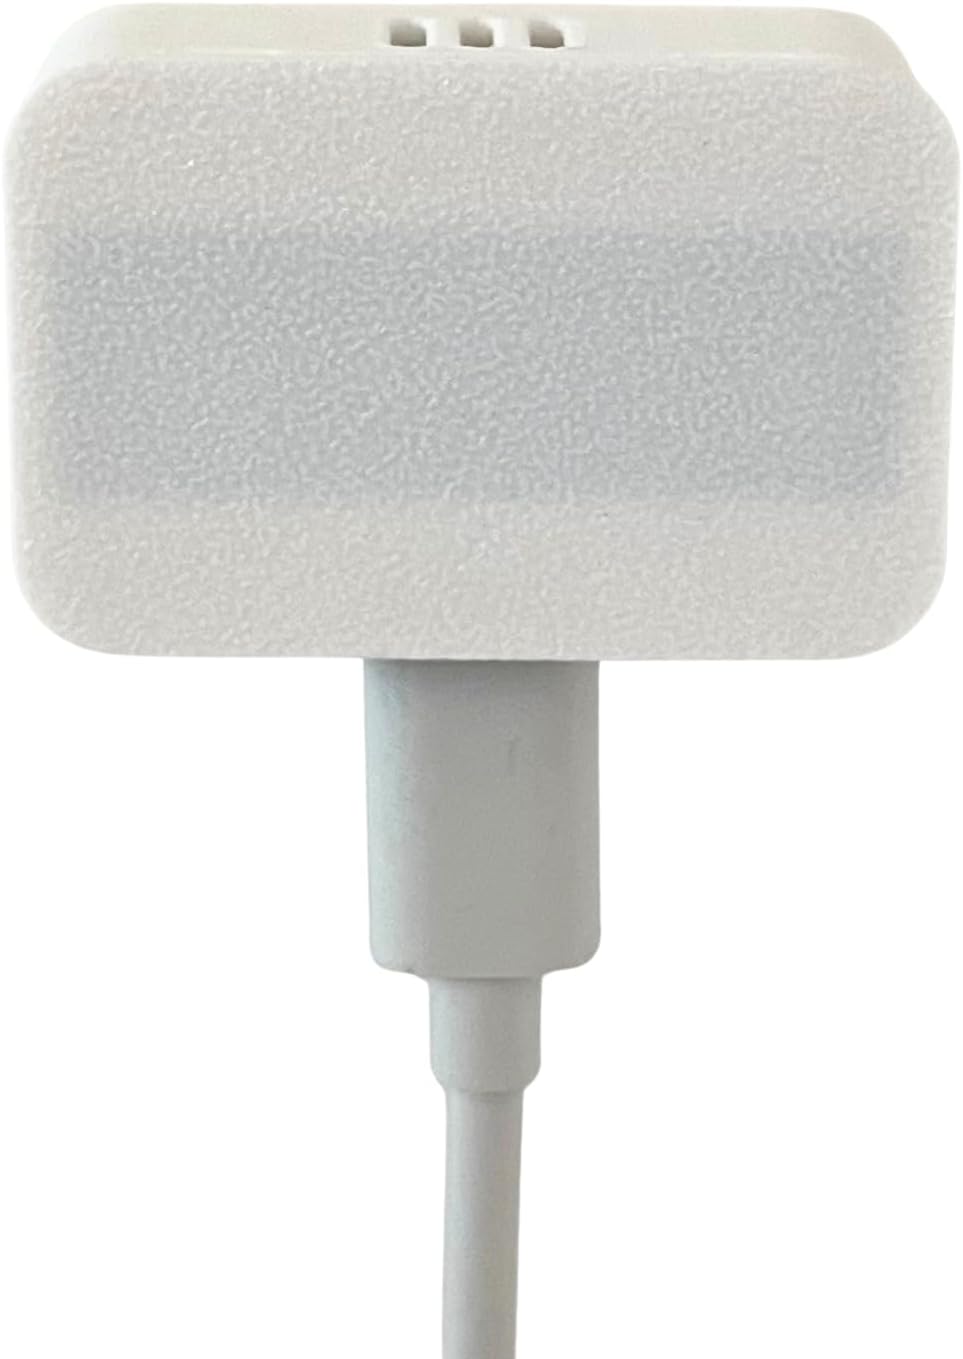
AKAMATIS Presence Sensor v2.2

An LD2410B and a Seeed ESP32-C3 in a small white case, flashed with ESPHome and ready for Home Assistant: presence without a soldering iron or a line of YAML.

  • RadarHLK-LD2410B, 24GHz
  • ControllerSeeed ESP32-C3, external Wi-Fi antenna
  • RangeUp to 6m (20ft) indoors
  • FirmwareESPHome, pre-flashed
  • PowerUSB-C, no batteries
  • NeedsHome Assistant already running
Great for
  • You run Home Assistant and want presence with no wiring
  • People who sit still keep tripping out your PIR sensors
  • You want an LD2410B build that looks finished
Not for
  • No Home Assistant: it works only with Home Assistant
  • Rooms with no USB power near the mounting spot
  • Makers who enjoy building their own node
Get the module
Pack sizes

Bare sensor or with a wall mount

Skip the soldering: an LD2410B and an ESP32-C3 already paired

The AKAMATIS v2.2 is the build most LD2410 owners end up making, done for you. Inside is an HLK-LD2410B radar wired to a Seeed ESP32-C3 controller with an external Wi-Fi antenna. The pair sits in a white case under 1.1 inches tall and runs from a USB-C lead.

It is still an LD2410B at heart, which tells you how it behaves:

  • 24GHz radar that holds presence while you read, type or sleep, where a PIR sensor would time out.
  • Detection of moving and stationary people up to 6m indoors.
  • Distance-gate sensing, so it can be tuned to ignore the far end of a room.
  • Radar that sees through thin plastic, so the case needs no window.

What the finished sensor adds over a bare module:

  • A controller and firmware. The ESP32-C3 comes flashed with ESPHome, so there is no YAML to write and no board to flash.
  • An external antenna. Wi-Fi reception is better than from a chip antenna buried next to the radar.
  • A case and power. USB-C in, nothing to solder, and a wall mount in one version.
  • Certified parts. Both main components, the LD2410B and the Seeed C3, carry FCC certification.
Home Assistant is required. This sensor works only with Home Assistant, which must already be installed and running on a computer or server in your home. It does not pair with a phone app or a cloud service on its own.

If you have never built an LD2410 node, this is the fastest way to see what mmWave presence does in your rooms. If you have, it is a tidier version of the build you already know, with the enclosure and antenna problems solved.

Datasheet

Board details

SpecValue
Radar moduleHLK-LD2410B (24GHz mmWave)
ControllerSeeed C3 (ESP32-C3)
Wi-Fi2.4GHz, external antenna
FirmwareESPHome, pre-flashed
PlatformHome Assistant required
DetectsMoving and stationary people
Maximum range6m (20ft) indoors
SensitivityAdjustable
SetupDevice hotspot, then enter Wi-Fi credentials
PowerUSB-C
BatteryNone
Dimensions0.55 × 1.6 × 1.05in (D × W × H)
ColourWhite
MountingWall; mount included in one version
CertificationMain components (LD2410B, Seeed C3) FCC-certified
VersionsSensor only; sensor + wall mount

Join it to Wi-Fi and find it in Home Assistant

Setup takes a USB-C lead, a phone and your Wi-Fi password. The sensor starts its own hotspot on first power-up; you join it, enter your network details, and it reboots onto your Wi-Fi. No manual configuration or flashing is needed.

  1. Plug the sensor into a USB-C power supply where it will live.
  2. On your phone, join the sensor's Wi-Fi hotspot.
  3. Enter your 2.4GHz network name and password on the page that opens.
  4. Wait for it to reboot and join your network.
  5. In Home Assistant, open the discovered-devices notice and add it through the ESPHome integration.

It must join a 2.4GHz network. The ESP32-C3 has no 5GHz radio, so a router that only broadcasts a combined or 5GHz-only network needs a 2.4GHz band enabled.

Once added, you get entities to build automations on:

  • Presence, the main on/off occupancy state.
  • Motion versus still detection, depending on firmware.
  • Sensitivity controls, so you can adjust it from Home Assistant.
  • Distance readings for the detected target, depending on firmware.

The exact set depends on the firmware version, so check the device page in Home Assistant rather than assuming a particular entity name.

Because it runs ESPHome on an ESP32-C3, the sensor can in principle take your own YAML. Check the maker's guidance before re-flashing: you replace the factory setup, and hotspot onboarding goes with it. The ESPHome LD2410 page shows what a custom config can expose.

A simple first automation: lights on when presence turns on, and off two minutes after it turns off. The delay covers the moments a still person's signal dips.

Among the others

Its place in the range

LD2410 sensor models by type, September 2026. Highlighted: AKAMATIS Presence Sensor v2.2.

Aim it at the chair, not the doorway

A finished sensor is only as good as where it sits. The LD2410B inside watches a wide cone and reaches 6m, so placement decides whether it catches you on the sofa or the neighbour in the hallway. Mount it once, then tune from Home Assistant.

  • Point it at where people stay. The sofa, the desk, the bed. Presence is about the still person, not the one walking past.
  • Keep the doorway at the edge. A doorway in the middle of the cone catches every trip down the hall.
  • Mind thin walls. 24GHz passes through plasterboard, so a sensor facing a shared wall may see the next room.
  • Avoid fans and curtains. Ceiling fans and curtains moving in a draught read as a restless person.
  • Leave the antenna clear. Metal shelves and mirrors next to the case hurt Wi-Fi and radar alike.

Then tune it with the room empty:

  1. Leave the room and watch the presence entity for a few minutes.
  2. If it stays on, lower the sensitivity or shorten the maximum distance.
  3. Sit still in your usual spot and confirm presence holds for several minutes.
  4. Adjust until both tests pass, then build your automations.
RoomGood spotWatch for
OfficeWall facing the deskHallway behind the door
BedroomAbove the headboard, angled downA partner's side, pets
Living roomFacing the sofaCeiling fan, TV wall shared with neighbours

How the cone and distance gates behave across the family is on range and field of view. The wall-mount version saves drilling a custom bracket when the right spot is higher up the wall.

Swap options

Other boards to try

Build it yourself3 LD2410C single module
LD2410C single module
The LD2410C module with an ESP32 and ESPHome makes the same kind of sensor, fully under your control.
  • LD2410C · 1 module
  • Bluetooth: tune it from your phone
  • 24GHz radar: sees people sitting still
Get the module

Decide between the finished sensor and a DIY LD2410C build

The same result is available as parts: an LD2410C, an ESP32 board, four wires, a printed case and an evening with ESPHome. What the AKAMATIS saves is that evening, plus the enclosure, antenna and power details that make a build look and behave like a product.

ChoiceBetter when
AKAMATIS v2.2You want it working today, with a clean case and no soldering
DIY with an LD2410CYou want full control of firmware, extra sensors, or several cheap nodes
LD2410B-P in your own caseYou want the same slim radar with pins fitted for a custom enclosure

Pick the finished sensor if:

  • Home Assistant is running and you want presence in one or two rooms quickly.
  • You would rather not solder, flash or print.
  • Wife, husband or housemate approval depends on it looking tidy.

Pick DIY if:

  • You want a light sensor, temperature or a relay on the same board.
  • You are covering many rooms and enjoy the build.
  • You want to change every setting in YAML.

The two versions differ only in the mount. Take the sensor-only version if it will sit on a shelf or you already have a bracket in mind; take the wall-mount version if it is going high on a wall. For a finished sensor that also reports light level, the same maker's Litos v3 is the natural step up.

For DIY parts and cases, see LD2410 cases and ESP32 wiring.

Troubleshooting

Wiring questions

Does the AKAMATIS v2.2 work without Home Assistant?

No. It works only with Home Assistant, which must already be installed and running on your network.

Which radar is inside the AKAMATIS v2.2?

The HLK-LD2410B 24GHz radar, paired with a Seeed ESP32-C3 controller and an external Wi-Fi antenna.

Do I need to flash or configure ESPHome?

No. It ships with ESPHome firmware; you join its hotspot, enter Wi-Fi details and add it in Home Assistant.

How is it powered?

Over USB-C. There is no battery, so plan a USB power supply near the mounting spot.

Two AKAMATIS versions show up: do they differ?

One is the sensor only; the other adds a wall mount. The sensor is the same.

Best LD2410