Top modules

LD2410 Sensor: Sees You Even When You Sit Still

A 24GHz radar smaller than a stamp that knows you are still in the room. Start with the value 3-pack, one module to try, or a pack for the whole house.

Ranked by last month's sales · updated September 2026
9models ranked
10buying guides
Sep ’26sales data
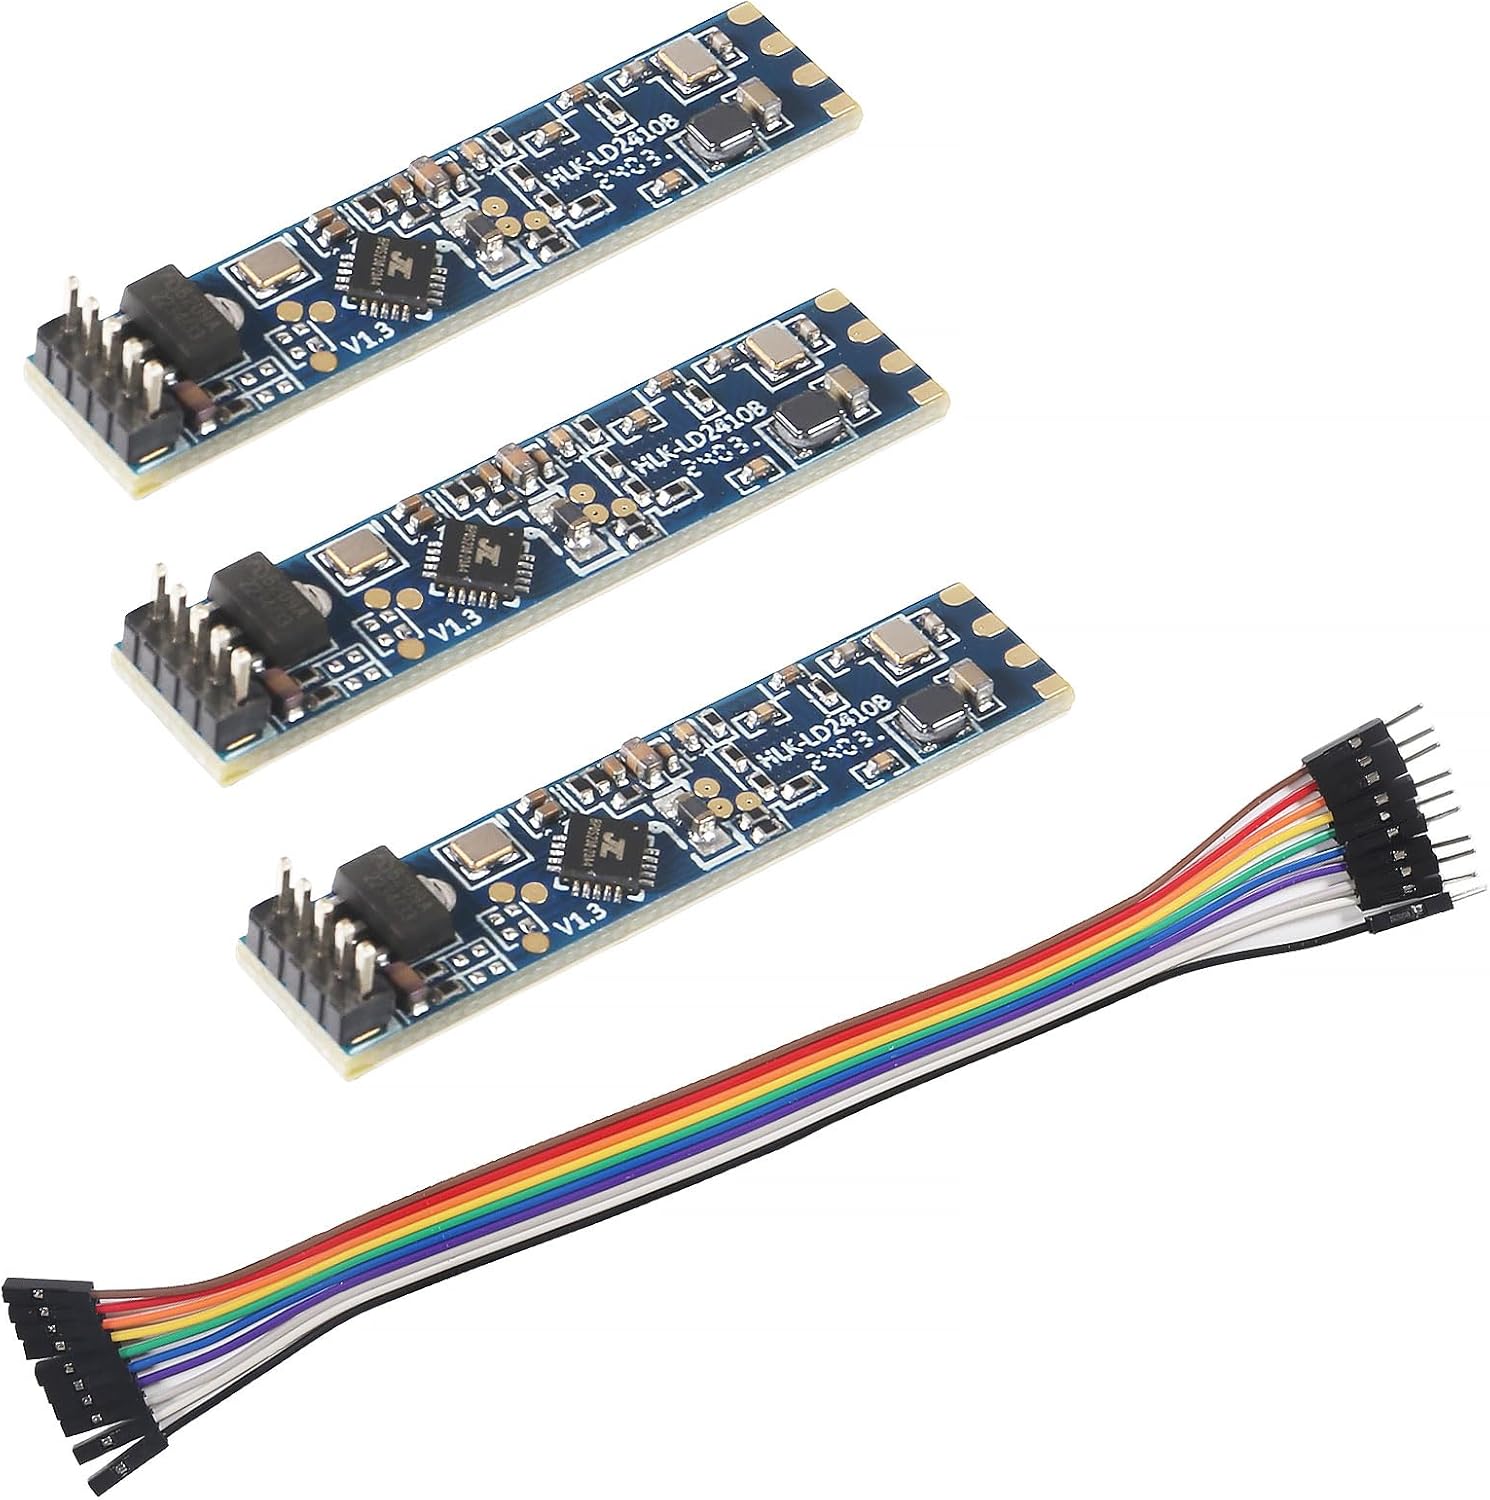
1 LD2410C 3-pack
Best choice LD2410C 3-pack
Most bought LD2410 last month
  • LD2410C · 3-pack
  • Bluetooth: tune it from your phone
  • 24GHz radar: sees people sitting still
Get the module
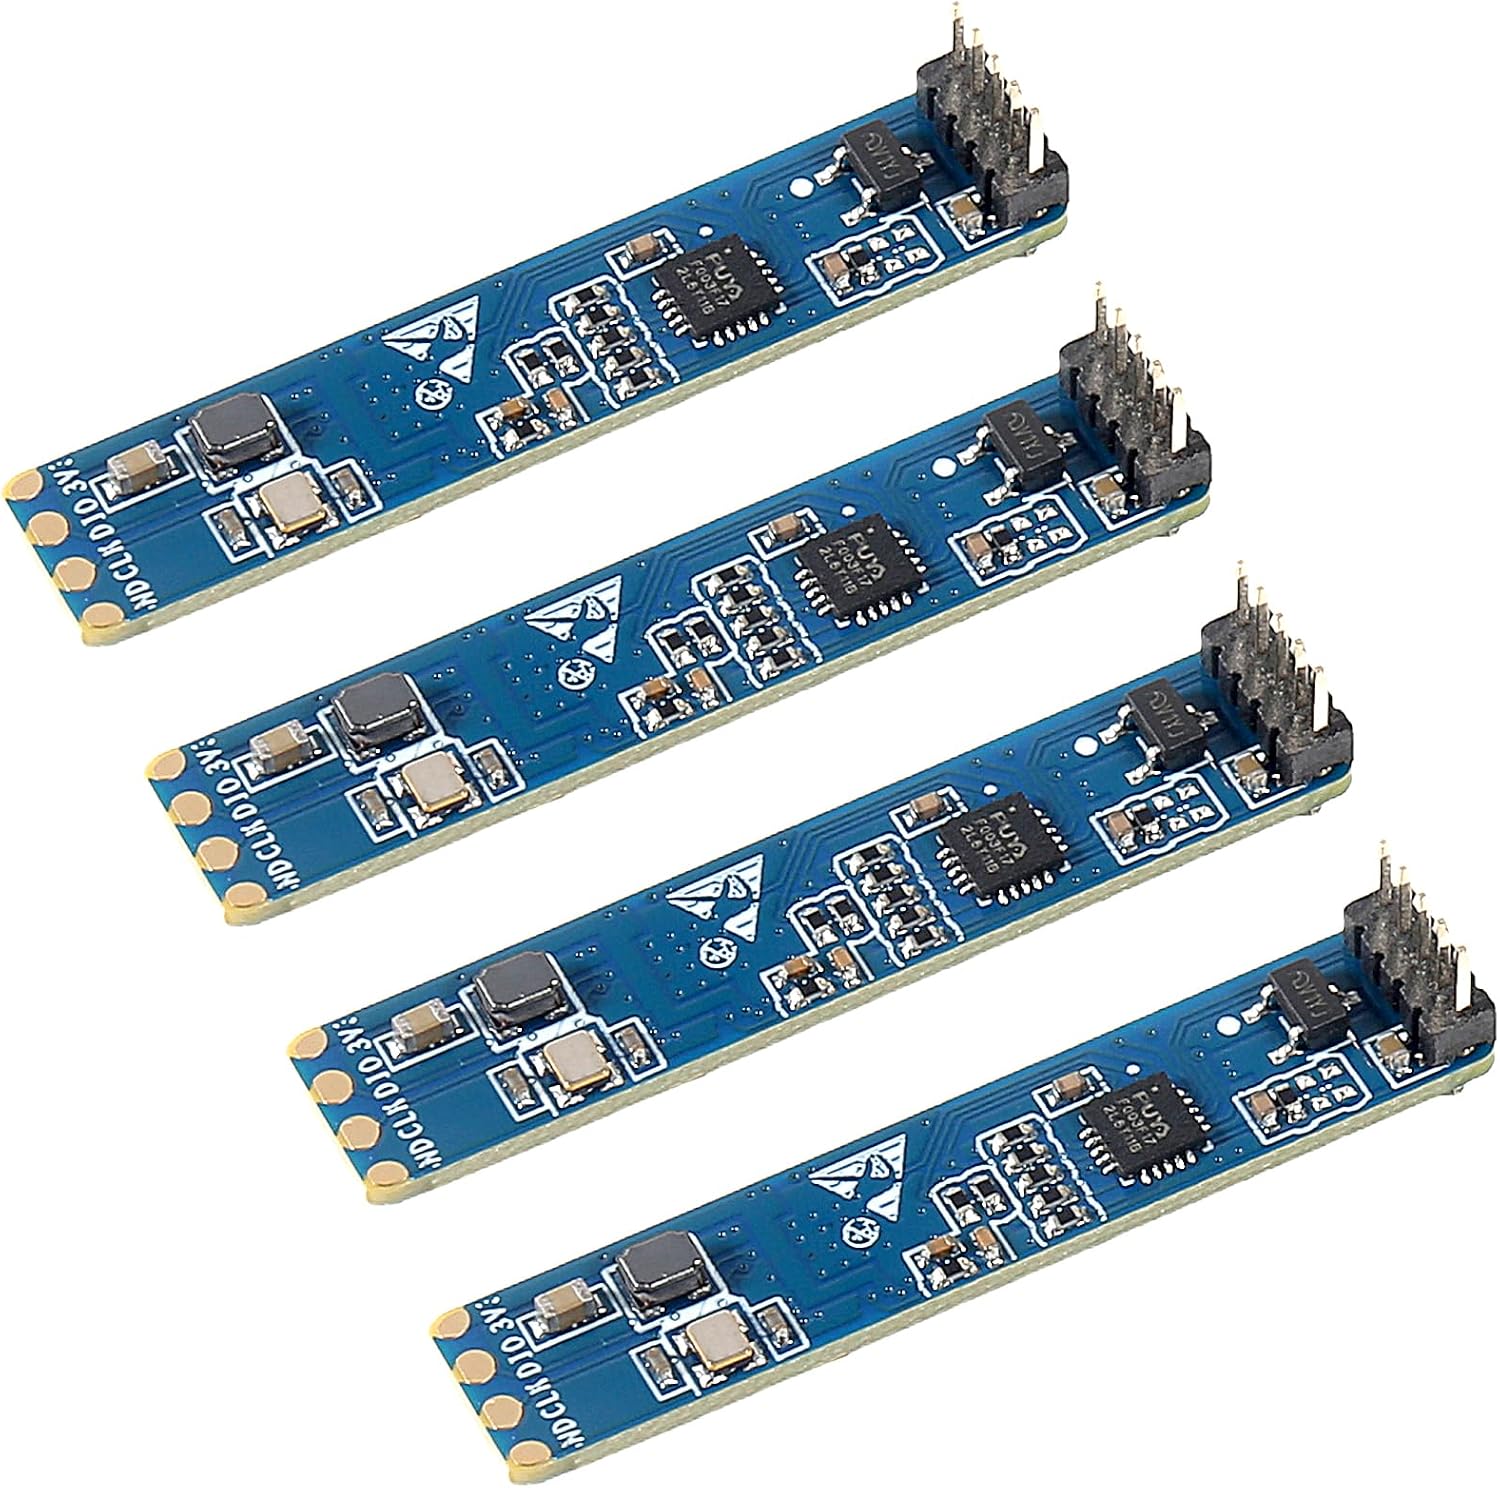
3 LD2410C 4-pack
Whole-house pack LD2410C 4-pack
Top-selling 4-pack
  • LD2410C · 4-pack
  • Bluetooth: tune it from your phone
  • 24GHz radar: sees people sitting still
Get the module
Check the #1 pick

Catch the person who stops moving

The Hi-Link LD2410 is a 24GHz radar module a few centimetres long that reports whether a person is present, including someone sitting perfectly still. That single ability is why it replaced PIR sensors in so many smart-home builds.

A PIR sensor sees heat moving across its field. Sit down to read and, after its timeout, the light goes off. The HLK-LD2410 human presence sensor uses FMCW radar instead: it sweeps its frequency, measures the echo, and picks up movement as small as breathing and posture shifts. It then tells you whether it sees a moving target, a still target, or nobody, and how far away each is.

  • Lights that stay on while you read, type or watch a film.
  • Heating that holds a room warm while it is occupied and sets back when it empties.
  • Screens and fans that switch off when nobody is left at the desk.
  • Bed and chair occupancy for night-time and away automations.

The module needs a 5V supply and talks over a 3.3V serial port at 256000 baud, with a simple OUT pin that goes high while someone is present. That makes it an easy partner for an ESP32 running ESPHome, which has a built-in LD2410 component for Home Assistant.

The three most popular LD2410 buys are all the LD2410C, the version most makers start with: Bluetooth tuning from a phone and standard 2.54mm pins. They differ only in quantity. One module is for trying the radar in a single room, the 3-pack covers a few rooms at a lower cost per sensor, and the 4-pack suits a whole-house rollout.

PIR notices movement. The LD2410 notices people, even the ones holding still.

Radar passes through thin walls and sees fans and curtains, so every install needs a few minutes of tuning. Per-gate thresholds, set while you watch live energy readings, handle most of it. The range and gates guide walks through the method.

Match your project

Three answers, one sensor

How will you use it?
Tune it from your phone?
How many sensors?
What runs your smart home?
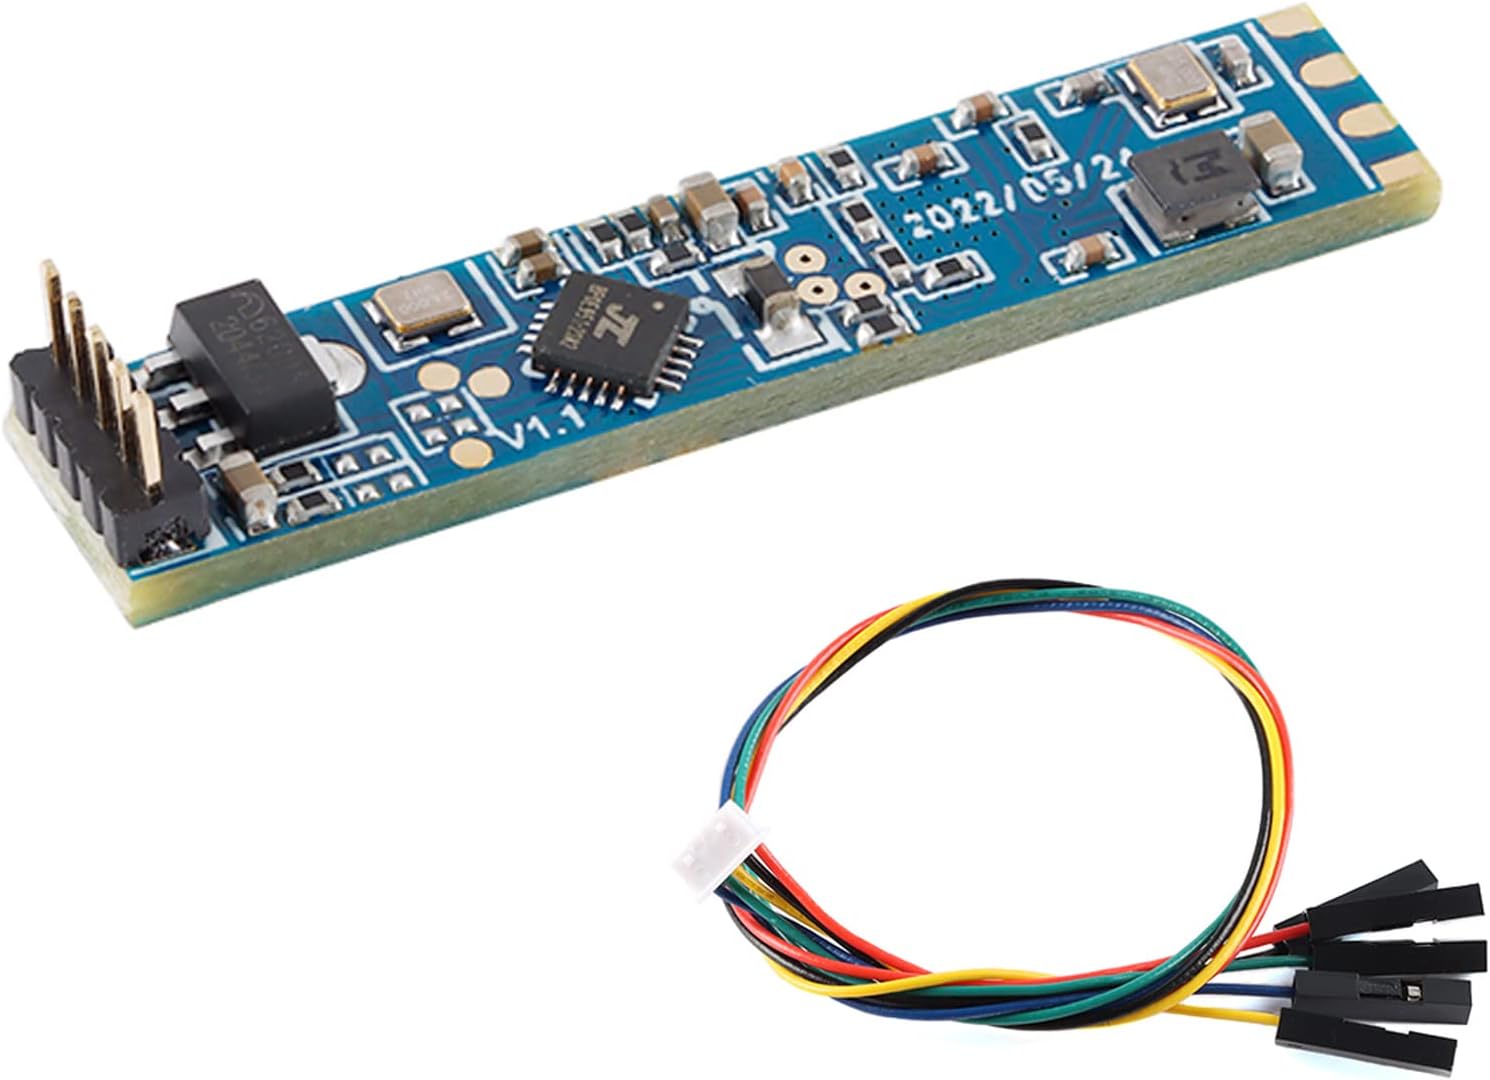
LD2410C single module
Your sensorLD2410C single module

Why this board: One LD2410C: Bluetooth tuning from the phone app and a 2.54mm header that plugs into jumper wires.

  • LD2410C · 1 module
  • Bluetooth: tune it from your phone
  • 24GHz radar: sees people sitting still
Get the module Module notes →

Answer three questions, get one board

Three questions pick your LD2410: how you will run it, whether you want to tune it from a phone, and how many rooms you plan to cover. Answer them honestly and one board stands out.

The first question matters most. Your build path decides whether you want a bare module, a test kit or a finished sensor.

  • ESPHome or Home Assistant: a bare LD2410C or B on an ESP32. ESPHome's ld2410 component gives you presence, distance, gate energies and every tuning value as entities.
  • Your own ESP32 or Arduino code: a module plus a test kit helps, so you can check the radar on a PC before you debug your sketch.
  • No soldering: a finished sensor with a case, a controller and ESPHome already on it.

Phone tuning is the second fork. The LD2410B, B-P and C carry Bluetooth, and Hi-Link's HLKRadarTool app shows live gate energy and lets you set range, sensitivity and timeout from wherever you sit. The original LD2410 and the low-power S have no radio; you configure them over serial or through ESPHome.

Your buildStart with
ESPHome, one roomLD2410C single module
ESPHome, several roomsLD2410C 3- or 4-pack
Slim wall-plate installLD2410B or B-P
Battery-powered nodeLD2410S
Home Assistant, no toolsFinished ESPHome sensor

Room count is the last question, and it is mostly about value. Multi-packs bring the cost per sensor down, and identical modules mean one YAML file and one tuning routine for every room. If you are unsure, buy one more module than you think you need; a spare on the bench makes tuning faster.

Two quick rules settle most doubts. If you already run Home Assistant, any 5V board on an ESP32 will do, and the C is the least fiddly. If the sensor must sit where there is no USB power, only the S makes sense. The version comparison covers every letter in detail.

Board comparison

Six LD2410 boards pin for pin

LD2410C module LD2410C module LD2410B Bluetooth module LD2410B Bluetooth module AKAMATIS Presence Sensor v2.2 AKAMATIS Presence Sensor v2.2 LD2410S low-power module LD2410S low-power module LD2410 original module LD2410 original module LD2410B-P module LD2410B-P module
TypeModuleModuleReady-made sensorModuleModuleModule
VersionLD2410CLD2410BLD2410BLD2410SLD2410LD2410B-P
Pack3-pack3-pack1 module1 module1 module1 module
BluetoothYesYesYes——Yes
Cable—Yes——Yes—
Get the module Get the module Get the module Get the module Get the module Get the module
Datasheet

Every spec of the top boards

LD2410C 3-pack
LD2410C 3-pack
Model
HLK-LD2410C
Frequency band
24GHz ISM (24.125GHz centre)
Radar type
FMCW (frequency-modulated continuous wave)
Detects
Moving, still, micro-motion, seated and lying people
Maximum sensing distance
5m (some packs quote up to 6m)
Distance resolution
0.75m per gate
Detection angle
±60°
Supply voltage
5V
Logic level
3.3V UART and OUT pin
Interfaces
GPIO (OUT pin) and UART
Default baud rate
256000, 8N1
Header
5 pins at 2.54mm pitch
Module notes →Get the module

Decode version, pack and Bluetooth at a glance

All the 5V LD2410 boards share one 24GHz radar core, so the differences that matter are the ones that change your wiring and your workflow. Five properties separate them.

  • Type: module, test kit or ready-made sensor. A module is a bare board; a test kit adds a carrier and cable; a ready-made sensor is finished and flashed.
  • Version: the letter after LD2410. It sets the board size, pin order and pitch, and whether Bluetooth is on board.
  • Pack: how many modules come together, from singles to 20-packs.
  • Bluetooth: yes means app tuning with HLKRadarTool and the option of Home Assistant's LD2410 BLE integration.
  • Cable: a harness in the box saves soldering fine-pitch pads.

The version letter hides the detail that trips your first wiring job: pin order. The original LD2410 and the B count OUT, TX, RX, GND, VCC from pin 1, while the C starts with TX, then RX, OUT, GND, VCC.

Wire a C from a diagram drawn for the original and you put the supply on a data pin. Check the pinout reference for your exact board before you solder.

Pitch is the other practical difference. The original and B use 1.27mm pads on a 7x35mm strip, which is why they often ship with a cable or, as the B-P, with pins already fitted. The C uses standard 2.54mm spacing on a 16x22mm board and takes an ordinary header.

What stays the same across the 5V boards: 24–24.25GHz FMCW, a rated 5m reach, a ±60° field, 0.75m distance gates, about 80mA average draw, and the same serial protocol. Code and YAML written for one work on the others. The LD2410S is the exception on every one of those lines except the band, so treat it as a separate product.

If two boards match on version and Bluetooth, choose on pack size and whether a cable is included.
By project

The right board for each build

LD2410B Test Kit
Best for a first test LD2410B Test Kit

The Bluetooth B on a carrier board with its own cable. Watch it detect you in the PC tool or the phone app before you wire a microcontroller.

Get the module

Match the module to the job on your bench

Four boards cover the most common starting points. Each solves a different first problem, from never having soldered to needing months of battery life.

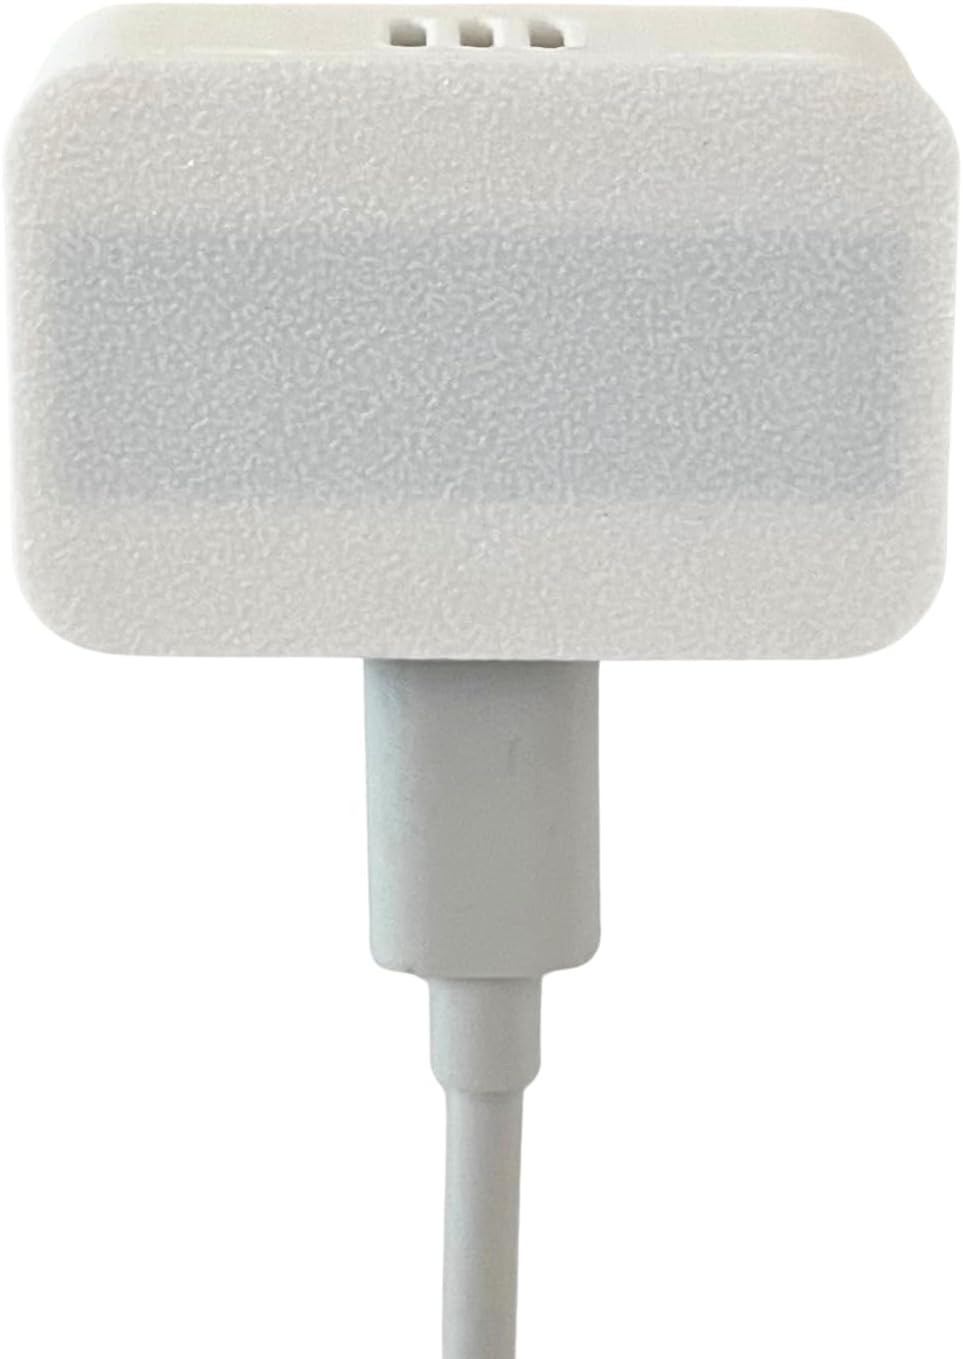
A finished sensor is the shortcut. The AKAMATIS v2.2 pairs an LD2410B with a Seeed ESP32-C3 and an external Wi-Fi antenna in a case, powered over USB-C and pre-flashed with ESPHome. You join its hotspot, enter your Wi-Fi details and adopt it in Home Assistant. It needs Home Assistant already running; without it there is nothing to talk to.

The test kit suits the curious. It puts a Bluetooth B module on a carrier with a cable, so you can see detection in Hi-Link's PC tool or the phone app before you commit to a controller, a case or a line of code.

  • Never soldered: finished sensor, or C modules with cables.
  • Learning the radar: test kit first, then a bare module.
  • Battery power: LD2410S on 3.3V.
  • Several rooms, ESPHome: a C multi-pack.

The S is the specialist. Hi-Link rates it at around 0.1mA average when it reports once a second, against roughly 80mA for the 5V boards. That turns a sensor that needs a USB cable into one that can live on batteries for months. The trade is compatibility: it runs at 115200 baud with its own protocol, has no Bluetooth, and is not covered by ESPHome's built-in LD2410 component.

The C with cables is the easy everyday build. Three modules, jumper cables in the box and standard pitch mean an ESP32 on a breadboard and a working sensor within the hour. Power from the ESP32's 5V pin, sensor TX to GPIO16, sensor RX to GPIO17, and the ESPHome YAML takes it from there.

Whichever you pick, tune it in place. Thresholds set on a bench rarely suit the final wall, the furniture and the ceiling fan.

What’s on offer

Modules, kits and finished sensors

LD2410 product families by type, September 2026.

Know the three kinds of LD2410 you can buy

LD2410 hardware comes in three forms: bare modules, test kits and ready-made sensors. Bare modules make up most of the family, packed in quantities from one to twenty.

Bare modules are just the radar board. You supply power, a controller and firmware. They cover every version: the original, B, B-P, C, S, D and AA. The same Hi-Link design appears under many brand names, so the version letter tells you far more than the brand on the bag.

  • Modules: cheapest per sensor, most flexible, need wiring and firmware.
  • Test kits: a module on a carrier with a cable; for PC and app testing, or for code development.
  • Ready-made sensors: radar, controller, case and ESPHome firmware in one; plug in and adopt.

Two newer versions widen the family. The LD2410D targets stationary presence for repeat installs, with a 4m-radius cone from a 3m ceiling and 6m on a wall. The LD2410-AA is rated to 9m for moving people and ceilings up to 6m, and comes as a test kit. Both have their own documents, so check pinout and protocol rather than assuming LD2410 compatibility.

Pack size is where cost per room drops. A single module is right for a first experiment. A 3- or 4-pack suits a flat or a small house. The 10- and 20-packs are for installers or for anyone who wants a sensor in every room, hallway and cupboard.

FormWiringFirmwareBest for
ModuleYouYouESPHome builds, many rooms
Test kitCable includedYouLearning, code development
Ready-madeDoneESPHome loadedNo-solder Home Assistant

Bare boards also need a home. Radar sees through plastic, so a printed box works well, provided the front wall is thin and sits about a wavelength from the antenna. For case design around a bare board, see the enclosure guide.

All listings

Every LD2410 version and kit

9 versions, kits and finished sensors. Open any one for pins, pack sizes and setup notes.

Modules 6
Test kits 2
Ready-made sensors 1

Check five things before you order

Nine LD2410 versions, kits and finished sensors cover very different builds. Before you pick one, run through five checks, because the cheapest-looking module is not always the cheapest build.

  1. Version letter. C for most builds, B for slim mounts, S for batteries. An unmarked HLK-LD2410 is usually the original with no Bluetooth.
  2. Pin pitch and header. 2.54mm on the C; 1.27mm pads on the original and B unless pins or a cable are included.
  3. Bluetooth. Needed for the HLKRadarTool app and the LD2410 BLE integration.
  4. Pack size. Count rooms, then add a spare for bench testing.
  5. Power. The 5V boards need a supply that can deliver over 200mA; the S needs 3.0–3.6V.

LD2410 price is low for what the radar does, and the per-module cost falls further in multi-packs. Budget for the rest of the build too: an ESP32 or ESP32-C3 board, a USB supply, jumper wires and a printed or bought case. A finished sensor costs more than a bare module, but it includes all of that plus firmware.

  • Planning a battery node? The S is the only version built for it.
  • Running ESPHome? Any 5V board works with the built-in component.
  • Writing your own code? Pick a board with Bluetooth anyway; phone tuning saves hours.

A note on names. Hi-Link LD2410, HLK-LD2410 and LD2410 are the same family, Hi-Link being the Shenzhen maker and HLK its part prefix. Brands on the packaging vary, but the radar board is Hi-Link's design.

If a spec looks odd, such as a range much larger than 5m on a standard C, trust Hi-Link's documents. The datasheet walkthrough lists the official figures for frequency, power, range and resolution.

Measure the space first: 7x35mm for the original and B, 16x22mm for the C.
How-tos

Wiring, YAML and tuning

Get from parcel to Home Assistant in an evening

With the module on your desk, five jobs stand between you and a working presence sensor. Taken in order, they fit into a single evening.

  1. Wire it. Four wires to an ESP32: 5V, GND, and the crossed serial pair. The board-by-board wiring guide covers ESP32, ESP32-C3, D1 Mini, ESP8266 and Arduino.
  2. Flash ESPHome. Add a UART at 256000 baud and the ld2410 component; the ESPHome guide has YAML to paste.
  3. Adopt it. Home Assistant finds the node and creates presence, distance and tuning entities.
  4. Tune it. Turn on engineering mode, read the empty-room energy per gate, and set thresholds above it.
  5. House it. Print or buy a case that keeps plastic at the right distance from the antenna.

Most first-day trouble comes from three places. Crossed TX and RX lines give silence. Powering the module from 3.3V instead of 5V gives resets or nothing. A fan, curtain or radiator in one gate gives false presence, which the range and gates guide shows how to tune out.

  • No data at all: swap TX and RX, check 256000 baud.
  • Random resets: use the 5V pin and a 1A supply.
  • Presence that never clears: find the busy gate in engineering mode and raise its threshold.
  • Light turns off while you sit: lower the still threshold of your chair's gate.

Bluetooth boards give you a shortcut. Tune the gates in the HLKRadarTool app while standing in the room, then wire the module up; ESPHome reads the stored values back. And if you find you need to know where people are, not just that they are there, the LD2410 vs LD2450 comparison explains when a tracking radar earns its place.

Keep a notebook of your final thresholds per room. When you add the next sensor, you start from numbers that already work.

Troubleshooting

Before you power it up

What is the LD2410 sensor used for?

Detecting whether a person is in a space, including someone sitting or lying still. Makers use it for lights, heating, screens and occupancy automations in Home Assistant.

Is the Hi-Link LD2410 the same as the HLK-LD2410?

Yes. Hi-Link is the maker and HLK is its part prefix. The letter after the number, such as B, C or S, marks the board version.

Which LD2410 should I buy first?

The LD2410C for most people: Bluetooth tuning, standard 2.54mm pins and native ESPHome support. Choose the S only for battery power.

Is the LD2410 expensive?

No. It is one of the cheapest ways to get true presence detection, and multi-packs lower the cost per room further. Budget for an ESP32 and a USB supply as well.

Does the LD2410 detect pets?

It detects moving targets of any kind, so a pet can register, especially close to the sensor. Raising the thresholds of the nearest gates reduces this.

Will it pick up people in the next room?

It can, because 24GHz passes through drywall and the board radiates slightly backwards. Lower the maximum gate and add foil behind the module.

Do I need to solder an LD2410?

Not always. C modules with cables, the B-P with pins fitted, test kits and finished sensors all avoid soldering.

Beyond the LD2410

Need tracking or a finished sensor?

Neighbours of the LD2410: the LD2450 that follows people around a room, the tiny 3.3V LD2420, and finished Zigbee and Wi-Fi presence sensors.