Top modules
24GHz presence radar · 2.54mm header · Bluetooth

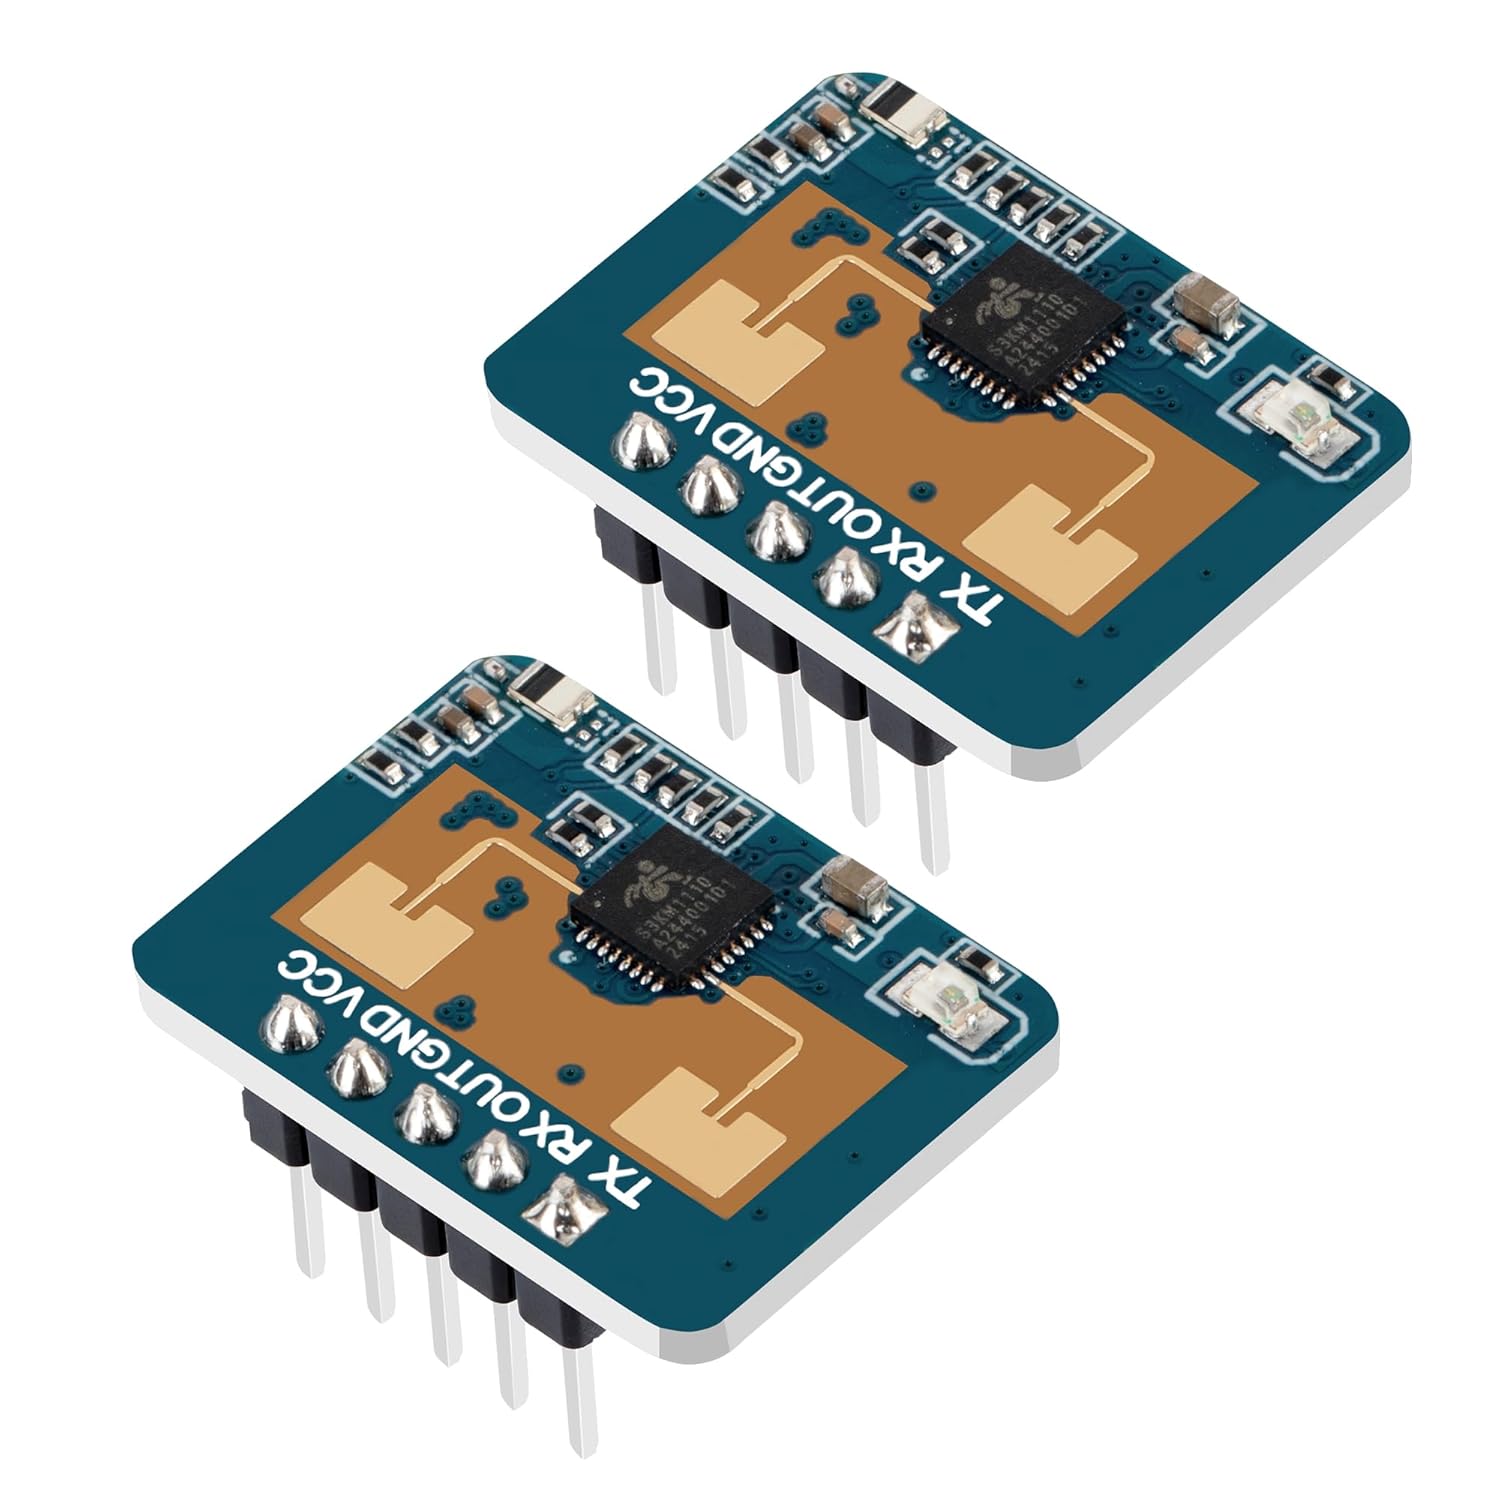
LD2410C Module

The easiest LD2410 to put on a bench: five pins at breadboard spacing, a Bluetooth radio for phone tuning, and the same serial protocol ESPHome already speaks.

  • VersionHLK-LD2410C
  • Header5 pins, 2.54mm pitch
  • Radar24GHz FMCW, moving and still people
  • RangeUp to 5m, 0.75m distance gates
  • InterfacesUART (256000 baud) + OUT pin, Bluetooth
  • Packs1, 2, 3, 4 or 5 modules
Great for
  • You want jumper-wire pins with no adapter or soldering
  • You plan to tune thresholds from your phone
  • You are adding ESPHome presence to several rooms
Not for
  • A battery build: the LD2410S is the low-power one
  • A very narrow slot: the LD2410B strip is thinner
  • No flashing at all: a finished sensor saves the work
Get the module
Pack sizes

Pick your pack size

Plug the C straight into a breadboard

The LD2410C is the LD2410 most people end up building with, and the reason is a row of five pins spaced 2.54mm apart. That is breadboard pitch, Dupont pitch, perfboard pitch. The original LD2410 and the LD2410B use a much finer header that needs an adapter cable or a steady soldering hand, so the C removes the first chore on the bench.

Inside, it behaves like the B. It runs the same 24GHz FMCW radar, speaks the same serial protocol at 256000 baud, and carries Bluetooth, so the HLKRadarTool phone app can connect and tune it with nothing else wired. Code written for the B generally runs on the C unchanged, including the ESPHome ld2410 component.

The five pins carry everything you need:

  • VCC: 5V in. Hi-Link asks for a supply that can deliver 200mA or more; the average draw is lower, but the radar pulls peaks while it transmits.
  • GND: shared ground with your microcontroller.
  • TX and RX: 3.3V UART, 256000 baud, 8N1. Module TX goes to board RX.
  • OUT: a 3.3V high while someone is present, low when the room is empty. It works with no UART at all.
Trust the silkscreen. The pin order printed on your board is the only order to wire to, because diagrams of other LD2410 versions circulate widely. The full map sits on the LD2410 pinout page.

The C is rated to 5m with 0.75m distance gates, and some packs quote 6m. Plan around 5m for someone sitting still. Real reach depends on mounting height, what the radar looks through, and how much the person moves.

Datasheet

Board details

SpecValue
ModelHLK-LD2410C
Frequency band24GHz ISM (24.125GHz centre)
Radar typeFMCW (frequency-modulated continuous wave)
DetectsMoving, still, micro-motion, seated and lying people
Maximum sensing distance5m (some packs quote up to 6m)
Distance resolution0.75m per gate
Detection angle±60°
Supply voltage5V
Logic level3.3V UART and OUT pin
InterfacesGPIO (OUT pin) and UART
Default baud rate256000, 8N1
Header5 pins at 2.54mm pitch
BluetoothYes, for app configuration
ConfigurableMax distance, per-gate sensitivity, no-one delay
Operating temperature−40 to +85°C
WeightAbout 0.01kg per module
Pack options1, 2, 3, 4, 5; 3-pack with 10cm cables; single with CH340 adapter

Wire it to an ESP32 and read presence in ESPHome

The quickest useful build is an ESP32 dev board, four jumpers and ESPHome. You take 5V from the board's VIN or 5V pin, share ground, and cross the serial lines. On a classic ESP32, GPIO16 and GPIO17 make a clean second UART, which keeps the USB port free for logs.

  1. Module VCC to the ESP32 5V or VIN pin.
  2. Module GND to GND.
  3. Module TX to GPIO16 (ESP32 RX).
  4. Module RX to GPIO17 (ESP32 TX).
  5. Optional: OUT to any free input, as a hardware presence line.

The minimal YAML:

uart:
  rx_pin: GPIO16
  tx_pin: GPIO17
  baud_rate: 256000
  parity: NONE
  stop_bits: 1

ld2410:

binary_sensor:
  - platform: ld2410
    has_target:
      name: Presence
    has_still_target:
      name: Still

sensor:
  - platform: ld2410
    detection_distance:
      name: Distance

Flash it, adopt it in Home Assistant and sit still at your desk. Presence should hold while you read and drop after the no-one delay. The longer config, with gate thresholds exposed as number entities, lives on the ESPHome page, and ESP32-C3, D1 Mini and Arduino wiring is on the wiring page.

Two traps catch first builds:

  • An ESP8266 has one full hardware UART, shared with USB logging. Set the logger's baud_rate to 0 before you hand that UART to the radar.
  • Long, thin jumpers on the 5V line cause brownouts that look like random resets. Keep power leads short.
  • Swapped TX and RX give you silence, not smoke. If the log shows no frames, cross the two wires and reboot.

If you only need a light switched, skip the UART entirely. Wire OUT to a GPIO, declare it as a gpio binary sensor, and tune the thresholds over Bluetooth instead.

Among the others

Its place in the range

LD2410 sensor models by type, September 2026. Highlighted: LD2410C module.

Tune the gates from your phone before it goes on the wall

Bluetooth is the C's second advantage. Install HLKRadarTool, power the module from any 5V USB source, and it shows up in the app with no microcontroller attached. You get live distance, moving and still energy per gate, and a slider for every threshold.

The radar splits its view into gates of 0.75m, gate 0 at the sensor and gate 8 at the far end. Each gate has its own motion and stillness threshold. Tuning means raising thresholds on gates where the room makes energy with nobody in it.

  1. Prop the module where it will live. Tuning on the desk and then moving it wastes the work.
  2. Leave the room and watch the energy bars for a minute. Note which gates stay lit.
  3. Raise the still threshold on those gates until the bars sit well below it.
  4. Set the maximum moving and still gates to your far wall, so the hallway beyond does not count.
  5. Pick the no-one delay: a few seconds for a light, longer for a desk or sofa.

The usual sources of phantom presence:

  • Ceiling fans and oscillating fans, mostly in the first few gates.
  • Curtains moving in a draught or over a heating vent.
  • A router or a second radar pressed against the antenna face.
  • A thin interior wall, with the radar seeing into the next room.
Prefer a laptop? The PC configurator does the same job over USB-serial, and grab both tools and the firmware update steps from the configurator downloads. Once tuned, consider switching Bluetooth off; ESPHome exposes a switch for it.

For how far each gate reaches and how wide the cone is, see range and field of view.

Swap options

Other boards to try

Narrow mounting space1 LD2410B Bluetooth module
LD2410B Bluetooth module
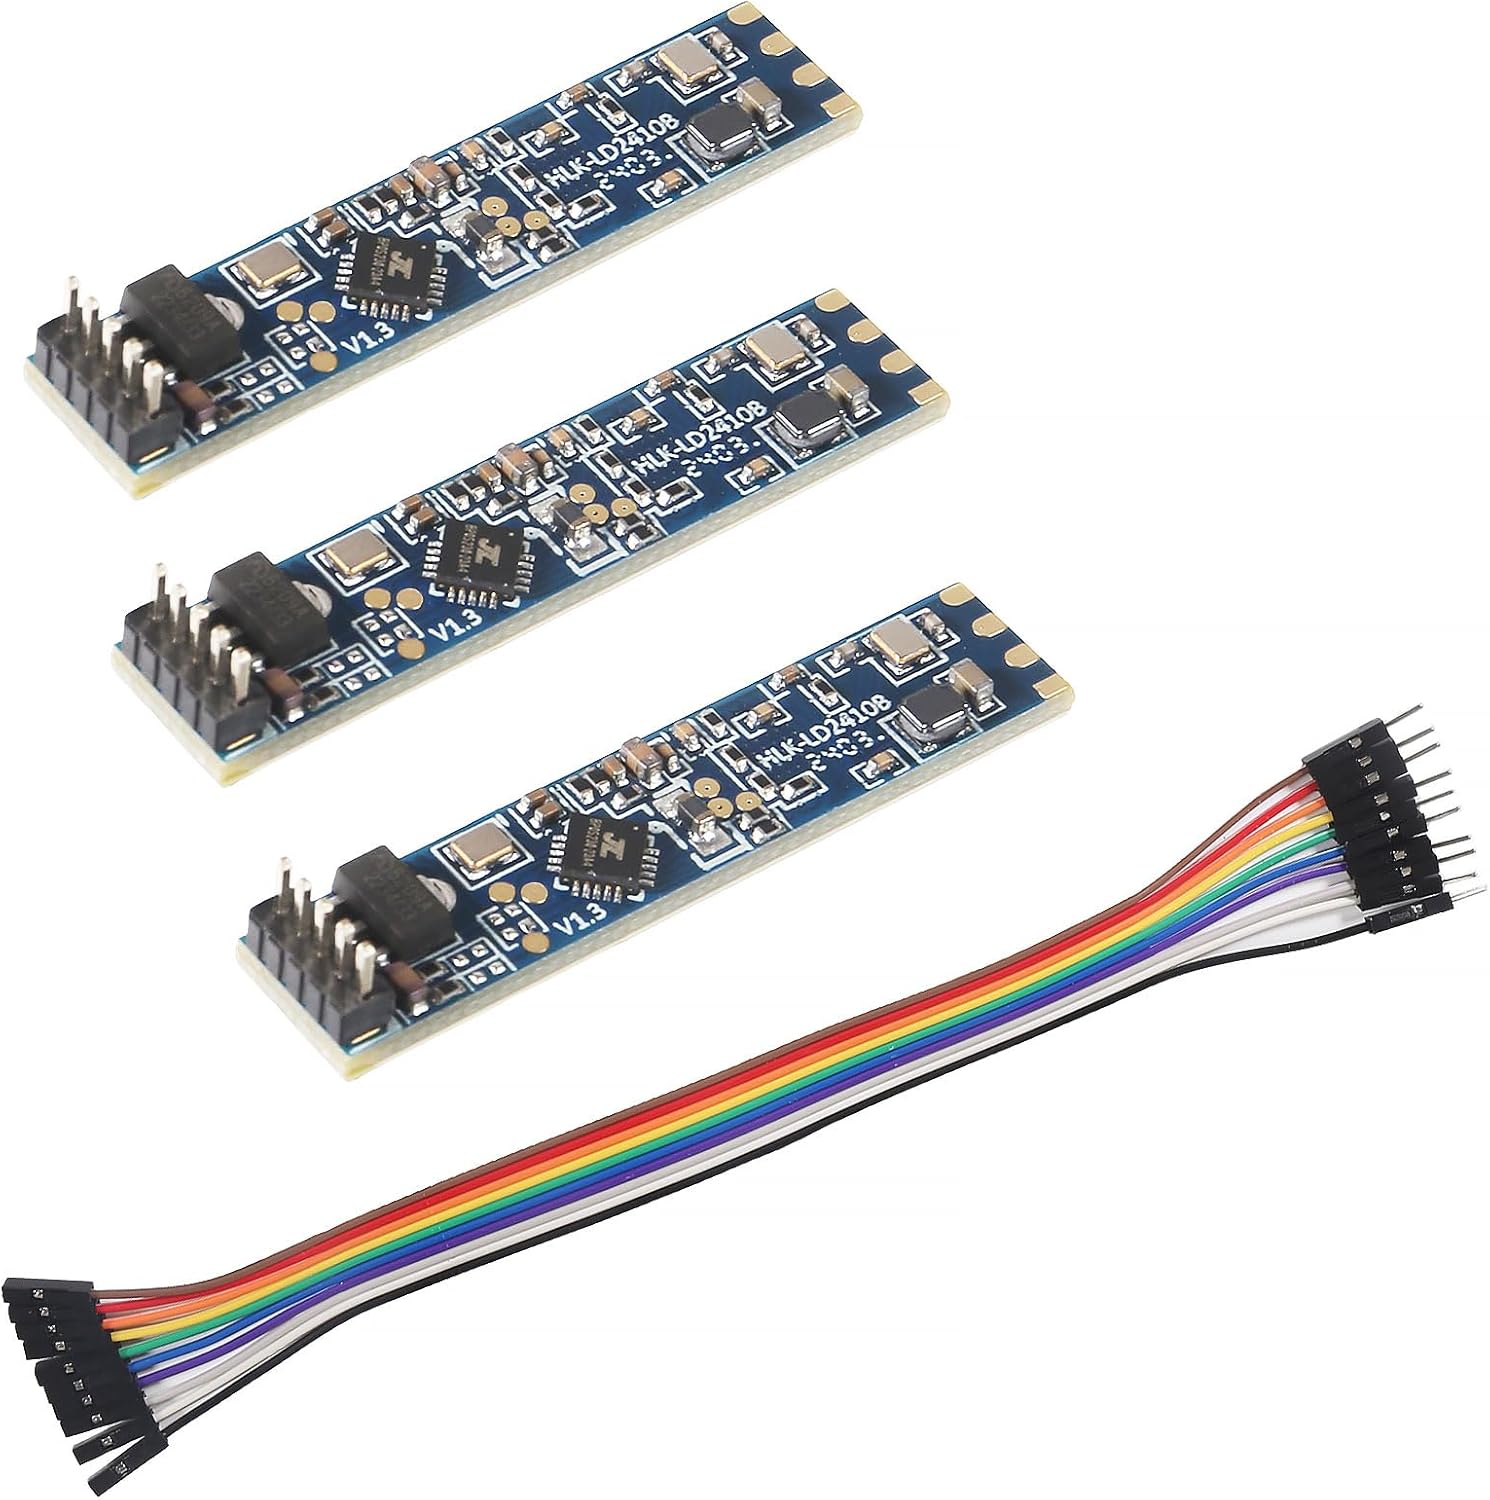
The LD2410B strip carries the same radar and Bluetooth in a 7mm-wide board, with pins and a cable included.
  • LD2410B · 3-pack
  • Bluetooth: tune it from your phone
  • Cable included
Get the module
No wiring, no flashing2 AKAMATIS Presence Sensor v2.2
AKAMATIS Presence Sensor v2.2
AKAMATIS pairs an LD2410B with an ESP32-C3 and ships ESPHome firmware ready for Home Assistant.
  • LD2410B · 1 module
  • Bluetooth: tune it from your phone
  • 24GHz radar: sees people sitting still
Get the module
Position tracking3 JMT HLK-LD2450 Tracking Sensor
JMT HLK-LD2450 Tracking Sensor
The LD2450 reports where people are, with distance and angle, instead of only whether someone is there.
  • LD2450 · 1 module
  • Tracks up to 3 people by position
  • 24GHz radar
Get the module

Buy the pack that matches your room count

The LD2410C comes as a single module and in 2-, 3-, 4- and 5-packs, plus a 3-pack with jumper cables and a single bundled with a CH340 USB-serial adapter. The modules inside are the same LD2410C; only the count and the extras change. Order for the rooms you plan to cover in the next few months, plus one spare for the bench.

PackFitsWhy
SingleOne room, a first tryLearn the tuning before you commit
Single + CH340Laptop tuning and firmwareThe adapter runs the PC configurator
2-packBedroom plus officeOne to mount, one to experiment on
3-pack, with or without cablesA few roomsCables save hunting for jumpers
4- and 5-packA whole floorPlan a controller and case per module

How the C sits among its siblings:

  • LD2410B: the same radar and Bluetooth on a thin 7 × 35mm strip with fine-pitch pads, for narrow spaces.
  • LD2410S: 3.3V, very low standby current and its own protocol, for battery builds.
  • AKAMATIS v2.2: an LD2410B already wired to an ESP32-C3 in a case, for no soldering.

Stay with the C when the space is at least a thumb wide and you value pins you can push a jumper onto. Move to the B when the radar has to hide inside a light switch or a slim profile, and to the S when a wall socket is out of reach.

The side-by-side detail is on LD2410B vs LD2410C. Before you choose, confirm the board carries the 5-pin 2.54mm header and reads LD2410C. Some multi-model bundles mix the C with other radars, so make sure the C is the one you pick. Then plan a case: the radar sees through thin plastic, not through metal.

Troubleshooting

Wiring questions

Is the LD2410C the same radar as the LD2410B?

Yes in behaviour: same 24GHz radar, same 256000-baud protocol and Bluetooth. The C changes the board shape and uses a 2.54mm header instead of fine-pitch pads.

Can I power the LD2410C from 3.3V?

Feed VCC with 5V. The UART and OUT pin run at 3.3V logic, so they connect directly to an ESP32 without level shifting.

Does ESPHome support the LD2410C?

Yes. The built-in ld2410 component works with the C at 256000 baud and exposes presence, distances, gate thresholds and a Bluetooth switch.

How far does the LD2410C see?

It is rated to 5m with 0.75m gates, and some packs quote 6m. Mounting height, enclosure material and how still the person is all change the real figure.

Do I need a microcontroller to use it?

No. The OUT pin goes high when someone is present, so it can drive a transistor or relay module directly, and the app handles tuning over Bluetooth.

Best LD2410