Top modules

LD2410 Case: 3D Print Enclosures, Kits and Adding a Light Sensor

Radar sees through plastic, but not through every plastic at every distance. Get the gap and wall thickness right and a printed LD2410 case costs you almost nothing in range.

Revised September 2026
Quick answer

Print the case in plain PLA, PETG or ABS, keep the front wall thin, and leave about 12.4mm (one wavelength at 24GHz) between the antenna and the inside of the cover, as Hi-Link's radome guidelines suggest. Keep metal, carbon-filled and metallic-flake filaments out of the beam. For a light sensor, add a BH1750 or VEML7700 on I2C behind a small window.

  • Antenna side faces the room; component side faces the wall
  • A foil layer at the back of the case blocks the rear lobe
  • No-print option: a finished sensor with case and firmware
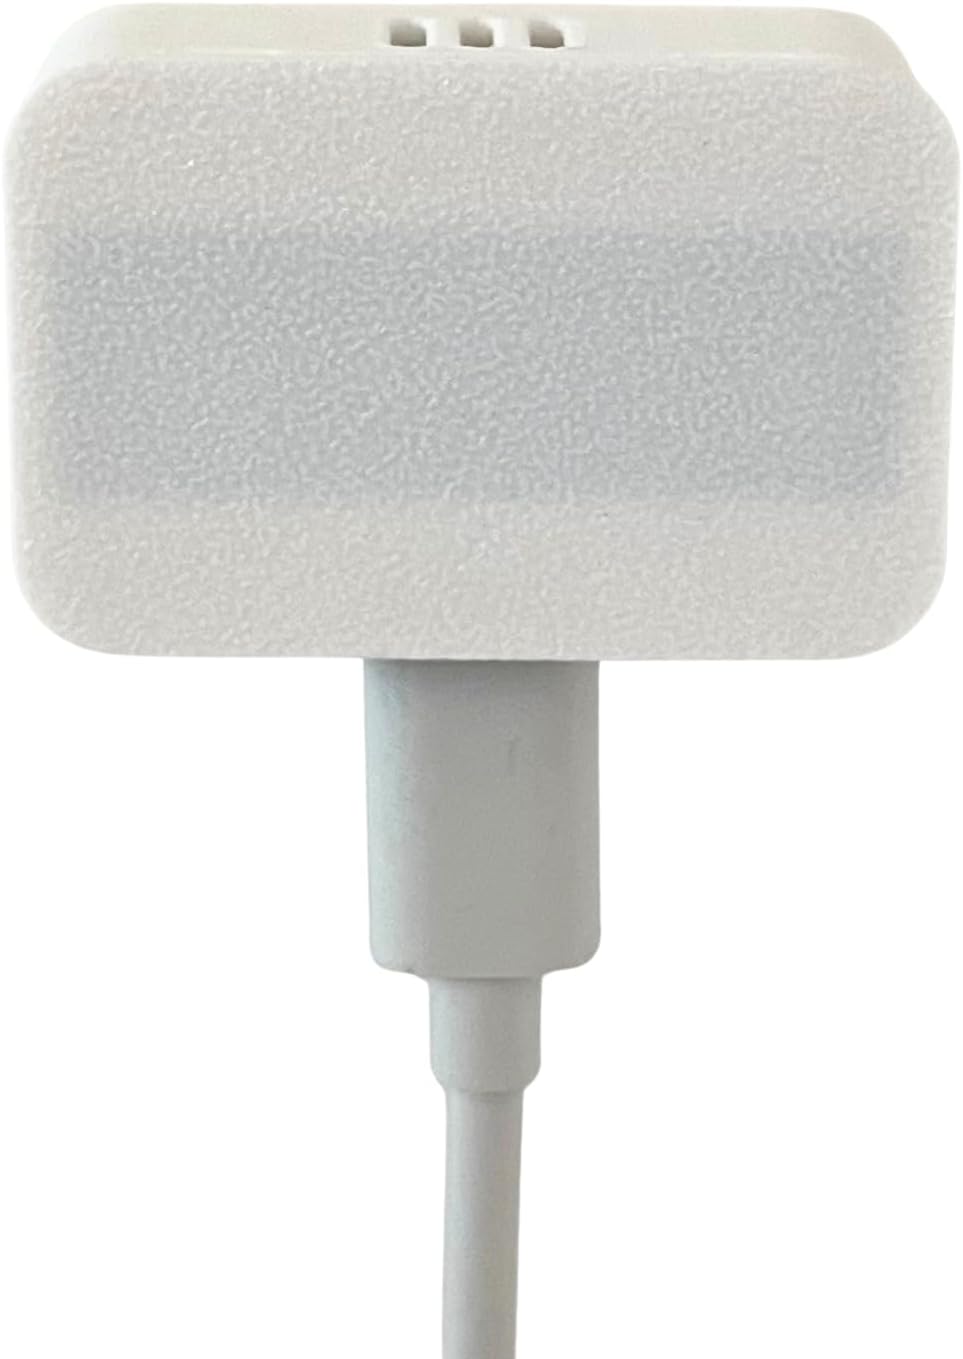
Cased and ready2 AKAMATIS Presence Sensor v2.2
AKAMATIS Presence Sensor v2.2
An LD2410B and ESP32-C3 in a finished housing, powered over USB-C.
  • LD2410B · 1 module
  • Bluetooth: tune it from your phone
  • 24GHz radar: sees people sitting still
Get the module
Bench kit before the case3 LD2410B Test Kit
LD2410B Test Kit
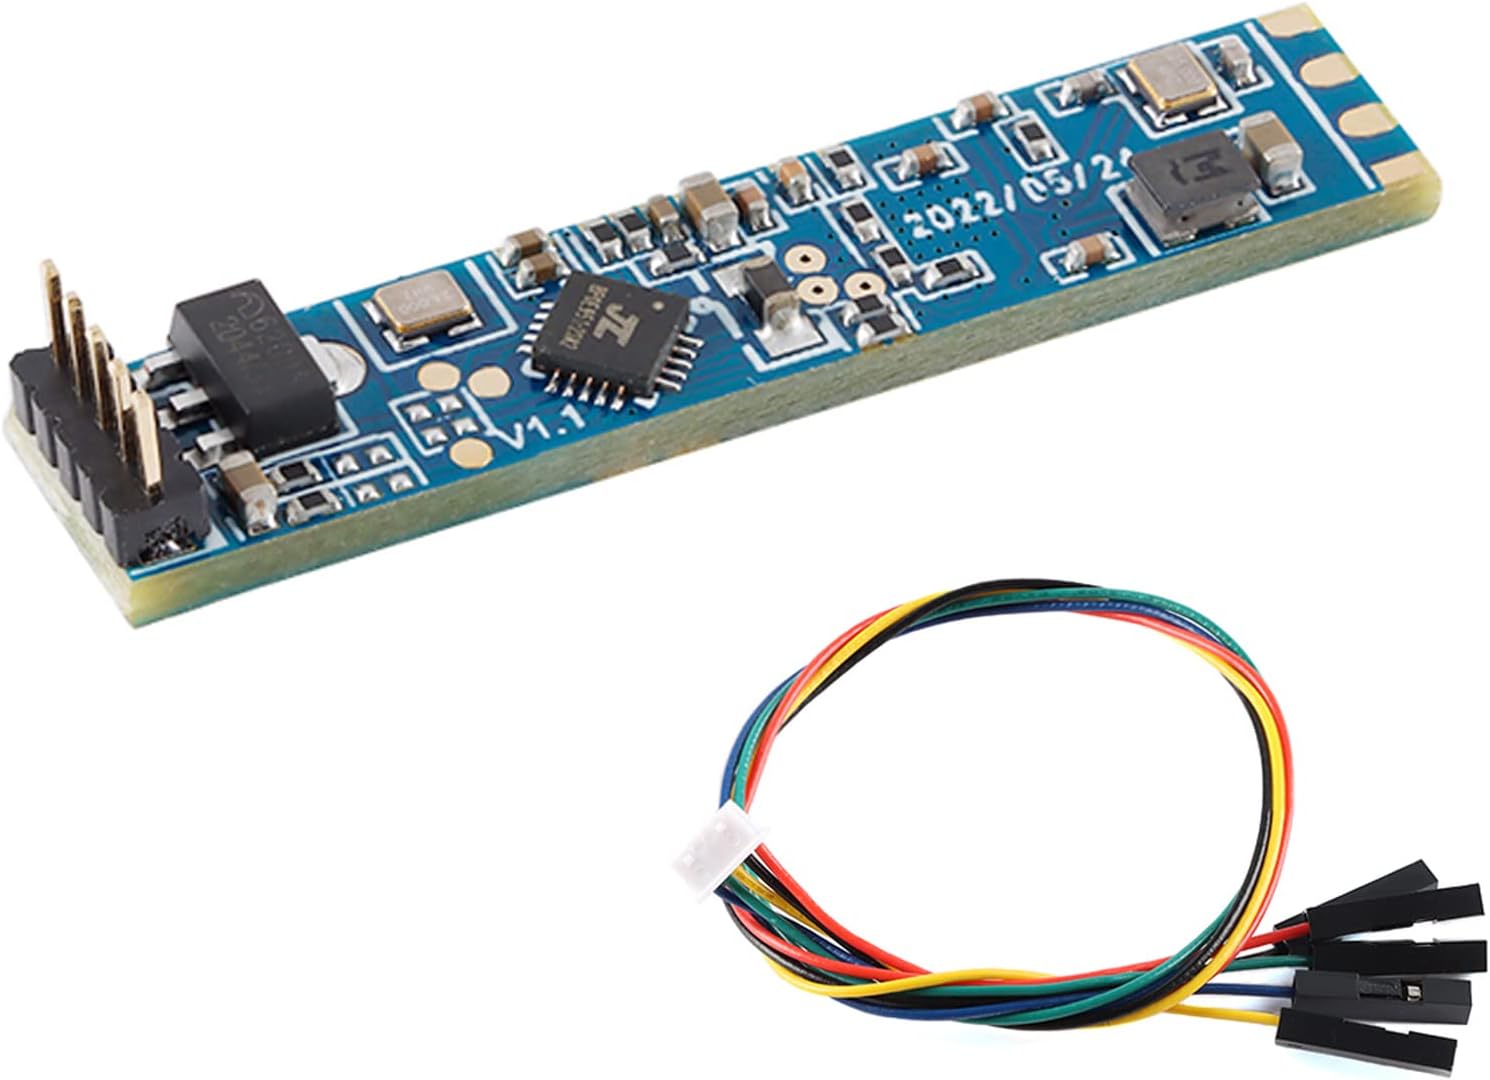
A test board and cable to confirm settings before you commit to an enclosure.
  • LD2410B · 1 module
  • Bluetooth: tune it from your phone
  • 24GHz radar: sees people sitting still
Get the module

Keep the cover one wavelength from the antenna

Any cover in front of a radar is a radome, and Hi-Link's manual gives it its own chapter. The cover reflects part of the signal, absorbs some, and bends the rest, which can shave range and shift the coverage pattern.

Two measurements matter. The first is the gap between the antenna and the inner face of the cover: Hi-Link suggests one or one and a half wavelengths when space allows, which at 24.125GHz means 12.4mm or 18.6mm, within ±1.2mm. The second is wall thickness.

  • Half-wavelength thick: Hi-Link's first choice, measured inside the material, with ±20% tolerance.
  • Very thin: if half a wavelength will not fit, go to one-eighth of a wavelength or thinner.
  • In between: the thicknesses to avoid, since reflections are strongest there.

Wavelength inside plastic is shorter than in air, by the square root of the material's dielectric constant, so the ideal half-wave thickness depends on your filament. Common printing plastics come out at a few millimetres. If you do not know your filament's value, print the front thin, around a millimetre, and keep the gap.

Test before you trust. Watch gate energy with the case off, then on. If a walking person's energy drops sharply at the far gates, adjust the gap or the wall.

The full radome figures sit alongside the spec table in the datasheet walkthrough.

Reference

Board sizes to design the case around

BoardBoard sizePin pitchCase note
LD2410 (original)7 x 35mm1.27mmSlim; fits a wall-plate slot or narrow bezel
LD2410B7 x 35mm1.27mmSame outline, Bluetooth for tuning after it is closed up
LD2410B-P7 x 35mmPins fittedAllow height for the header and Dupont housings
LD2410C16 x 22mm2.54mmSquare pocket; pairs neatly with a XIAO board
AKAMATIS v2.2Finished caseUSB-CNo printing needed

Board sizes from Hi-Link's module manuals. Measure your own board before printing; tolerances vary with the header fitted.

Print a case that fits your exact board

An LD2410 case is a small print, but the three board shapes need different pockets. Measure the board you have, header included, before you pick or draw a design.

Board comparison

Boards and kits to build a case around

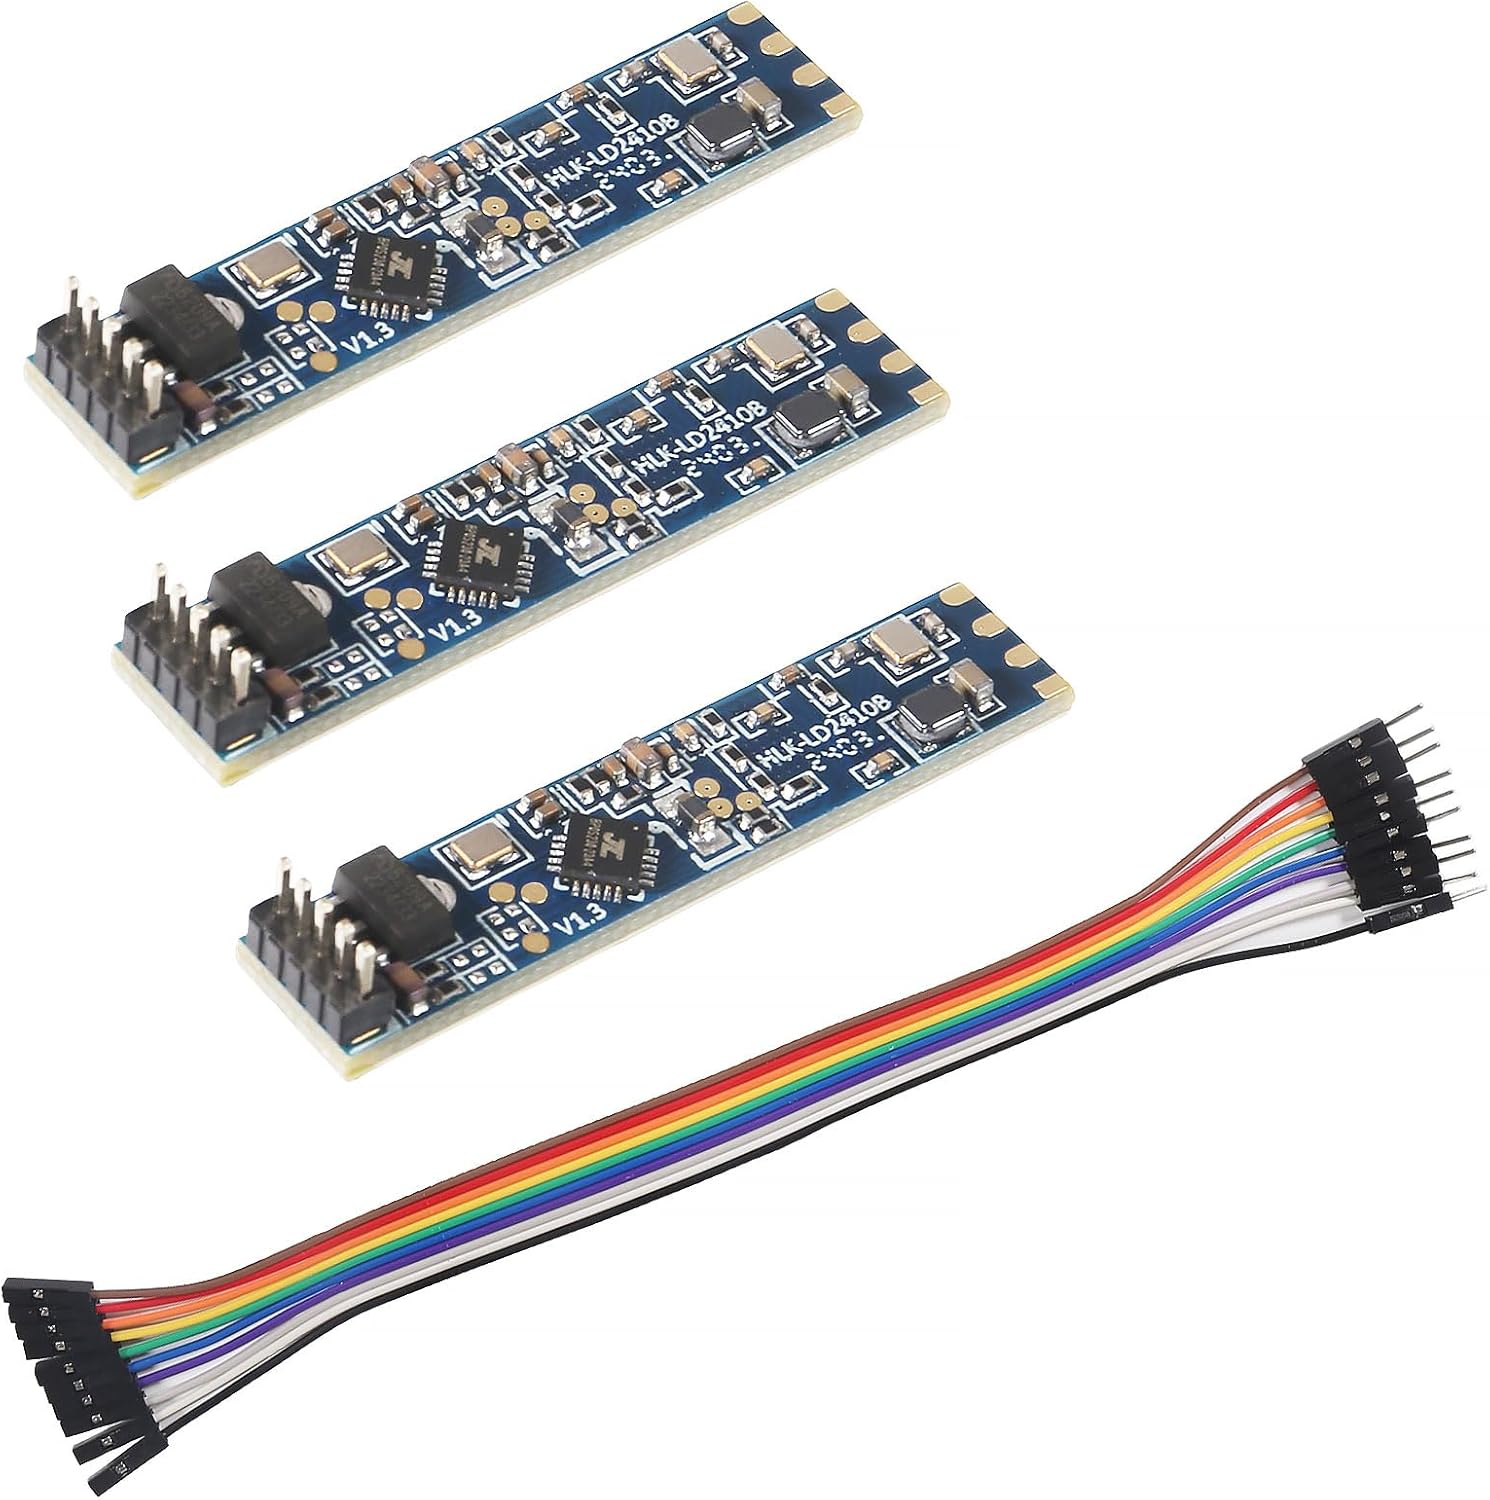
LD2410C 3-pack with cables LD2410C 3-pack with cables LD2410C single module LD2410C single module AKAMATIS Presence Sensor v2.2 AKAMATIS Presence Sensor v2.2 LD2410B Test Kit LD2410B Test Kit LD2410B-P module LD2410B-P module
TypeModuleModuleReady-made sensorTest kitModule
VersionLD2410CLD2410CLD2410BLD2410BLD2410B-P
Pack3-pack1 module1 module1 module1 module
BluetoothYesYesYesYesYes
CableYes————
Get the module Get the module Get the module Get the module Get the module
Datasheet

Every spec of the top boards

LD2410C 3-pack with cables
Model
HLK-LD2410C
Frequency band
24GHz ISM (24.125GHz centre)
Radar type
FMCW (frequency-modulated continuous wave)
Detects
Moving, still, micro-motion, seated and lying people
Maximum sensing distance
5m (some packs quote up to 6m)
Distance resolution
0.75m per gate
Detection angle
±60°
Supply voltage
5V
Logic level
3.3V UART and OUT pin
Interfaces
GPIO (OUT pin) and UART
Default baud rate
256000, 8N1
Header
5 pins at 2.54mm pitch
Module notes →Get the module
AKAMATIS Presence Sensor v2.2
Radar module
HLK-LD2410B (24GHz mmWave)
Controller
Seeed C3 (ESP32-C3)
Wi-Fi
2.4GHz, external antenna
Firmware
ESPHome, pre-flashed
Platform
Home Assistant required
Detects
Moving and stationary people
Maximum range
6m (20ft) indoors
Sensitivity
Adjustable
Setup
Device hotspot, then enter Wi-Fi credentials
Power
USB-C
Battery
None
Dimensions
0.55 × 1.6 × 1.05in (D × W × H)
Module notes →Get the module
LD2410B Test Kit
LD2410B Test Kit
Model
HLK-LD2410B
Kit type
Bluetooth test kit
Frequency band
24GHz ISM
Detects
Moving and stationary people, with target distance
Maximum sensing distance
5m
Distance resolution
0.75m per gate
Measurement accuracy
±0.375m
Coverage
±60°
Module size
7 × 35mm
Maximum supply voltage
5V DC
Outputs
Digital OUT pin and UART
Default baud rate
256000, 8N1
Module notes →Get the module

Add a light sensor for dark-room automations

Presence alone turns lights on in daylight. Add an illuminance reading and your automation only fires when the room is both occupied and dark.

You have two routes. Some LD2410 firmware includes a light function tied to a light reading on the module, with a threshold from 0 to 255; ESPHome exposes it as the light sensor, the light_threshold number and the light_function select, where the board and firmware support it. The more predictable route is a dedicated I2C sensor on the same ESP32.

i2c:
  sda: GPIO21
  scl: GPIO22

sensor:
  - platform: bh1750
    name: Illuminance
    address: 0x23
  • BH1750: cheap and well supported in ESPHome, reports lux.
  • VEML7700: wide range and close to the eye's response; also in ESPHome.
  • Placement: the light sensor needs a window or a light-permeable front; the radar does not.

Keep the light sensor away from the ESP32's status LED and from the lamp it controls, or the automation switches itself off. A small window facing the room, rather than the ceiling light, gives the most useful reading.

If you would rather buy than build, the Litos v3 pairs a radar with a VEML7700 behind a light-permeable printed front, and the SONOFF SNZB-06P24 adds a light sensor to a Zigbee presence sensor.

Recommended

Get presence and lux in one housing

AKAMATIS Litos v3 Wi-Fi Presence Sensor
Best with a built-in light sensor AKAMATIS Litos v3 Wi-Fi Presence Sensor

The AKAMATIS Litos v3 combines a 24GHz radar with a VEML7700 light sensor behind a light-permeable printed front, on a Seeed XIAO ESP32-C3 with ESPHome pre-installed. It is the finished answer to presence plus lux.

Get the module

Buy an LD2410 kit instead of printing

Not everyone wants to model a case. The LD2410 world has three kinds of kit, each saving you a different step.

KitWhat it savesWhat you still do
LD2410B test kitAdapter wiring for the PC toolBuild the final sensor
LD2410C with cablesSoldering headersController, case, firmware
AKAMATIS v2.2Everything: case, controller, ESPHomeJoin Wi-Fi, adopt in Home Assistant

The AKAMATIS v2.2 is the most complete. It pairs an LD2410B with a Seeed ESP32-C3 and an external antenna, is powered over USB-C, and arrives with ESPHome firmware. It needs Home Assistant; without it, the sensor has nothing to talk to.

  • Pick the test kit if you want to learn the radar first.
  • Pick the C with cables for your own printed design.
  • Pick the finished sensor if the case is the part you would skip.

A finished sensor also settles the radome question for you, since its maker has designed the front for the radar. For a DIY build, the ESPHome YAML walkthrough gets the controller side running.

Multi-room plans change the maths. A 3- or 4-pack of C modules plus one proven printed design is the cheapest way to cover a house, and every sensor ends up identical, which makes tuning faster from the second room on.

Visualised

Radome distances at 24GHz

From Hi-Link's radome design guidelines for 24.125GHz, gap tolerance ±1.2mm. Half-wavelength wall thickness inside plastic is shorter than the free-space figure and depends on the material.

Hide the sensor without blinding the radar

The appeal of radar is that it works hidden. Behind a picture frame, inside a lamp base or in a wall plate, the LD2410 keeps detecting, provided nothing conductive sits between it and the room.

  • Plastic wall plates: fine; check the gap and thickness as for a printed case.
  • Wood panels and shelves: pass the signal with some loss; thinner is better.
  • Metal back boxes: keep the antenna proud of the metal, facing out.
  • Glass: passes 24GHz, but coated low-energy window glass can block it.

Height and angle follow Hi-Link's guidance: 1.5–2m on a wall, or 2.6–3m on a ceiling. Inside a case, a slight downward tilt on a wall mount aims the ±60° cone at seated people rather than the ceiling.

Shield the back if the case sits on a shared wall. Aluminium or copper foil on the inside of the case back, insulated from the pins, cuts the rear lobe that otherwise sees the next room. The range and shielding guide covers the side-foil trick for narrowing the beam.

Secure the board firmly inside the case. Hi-Link notes that a radar shaking on its mount causes false detections.

Once it is mounted, retune. The case, the wall and the furniture all change gate energy slightly, and thresholds set on the bench rarely fit the final spot.

Troubleshooting

Common snags

Can the LD2410 work inside a 3D-printed case?

Yes. Use plain PLA, PETG or ABS, keep the front thin and leave about 12mm between antenna and cover, per Hi-Link's radome guidance.

Which filament should I avoid for an LD2410 case?

Carbon-fibre-filled, metal-filled and metallic silk or sparkle filaments, at least in front of the antenna.

Does the LD2410 have a light sensor?

Some firmware offers a light function with a 0–255 threshold where the board supports it. A separate BH1750 or VEML7700 on I2C is the more predictable option.

Is there a ready-made LD2410 kit with a case?

Yes: the AKAMATIS v2.2 is an LD2410B with an ESP32-C3 in a case, pre-flashed with ESPHome for Home Assistant.

Does the radar need a hole in the case?

No. It sees through plastic, so a closed front is fine. Only a light sensor needs a window.

Next build step

Continue the build

Parts bin

Other boards for the job

Beyond the LD2410

Need tracking or a finished sensor?

Neighbours of the LD2410: the LD2450 that follows people around a room, the tiny 3.3V LD2420, and finished Zigbee and Wi-Fi presence sensors.

Best LD2410